
Ultimate Guide to Wallpaper Removal: How to Strip Wallpaper Without Damaging Your Walls
Are you ready to transform your space with a professional wallpaper removal technique that keeps your walls pristine? This comprehensive guide will walk you through every step of wallpaper removal, ensuring you can confidently update your home’s interior.
Why Wallpaper Removal Matters
Wallpaper Peeling isn’t just about changing a room’s look – it’s about:
- Refreshing your home’s aesthetic
- Preparing walls for a modern makeover
- Addressing worn or peeling wallpaper
- Creating a clean canvas for new design ideas
Essential Tools for Successful Wallpaper Stripping
Before starting your wallpaper Peeling project, gather these must-have tools:
- Plastic drop cloths
- Wallpaper steamer or spray bottle
- Putty knife and scraper
- Scoring tool
- Protective gloves and safety goggles
- Dish soap
- White vinegar
- Commercial wallpaper removal solution
- Clean rags and sponges
- Bucket
- Ladder
Wallpaper Detachment: Preparation is Key
1. Protect Your Space
Effective wallpaper removal starts with thorough preparation:
- Clear or cover furniture completely
- Lay down plastic drop cloths
- Remove outlet covers and switch plates
- Ensure electrical safety near work areas
2. Identify Your Wallpaper Type
Different wallpaper types require unique removal approaches:
- Vinyl wallpaper: Generally easier to remove
- Traditional paper wallpaper: Needs more careful treatment
- Textured wallpapers: May require professional assistance
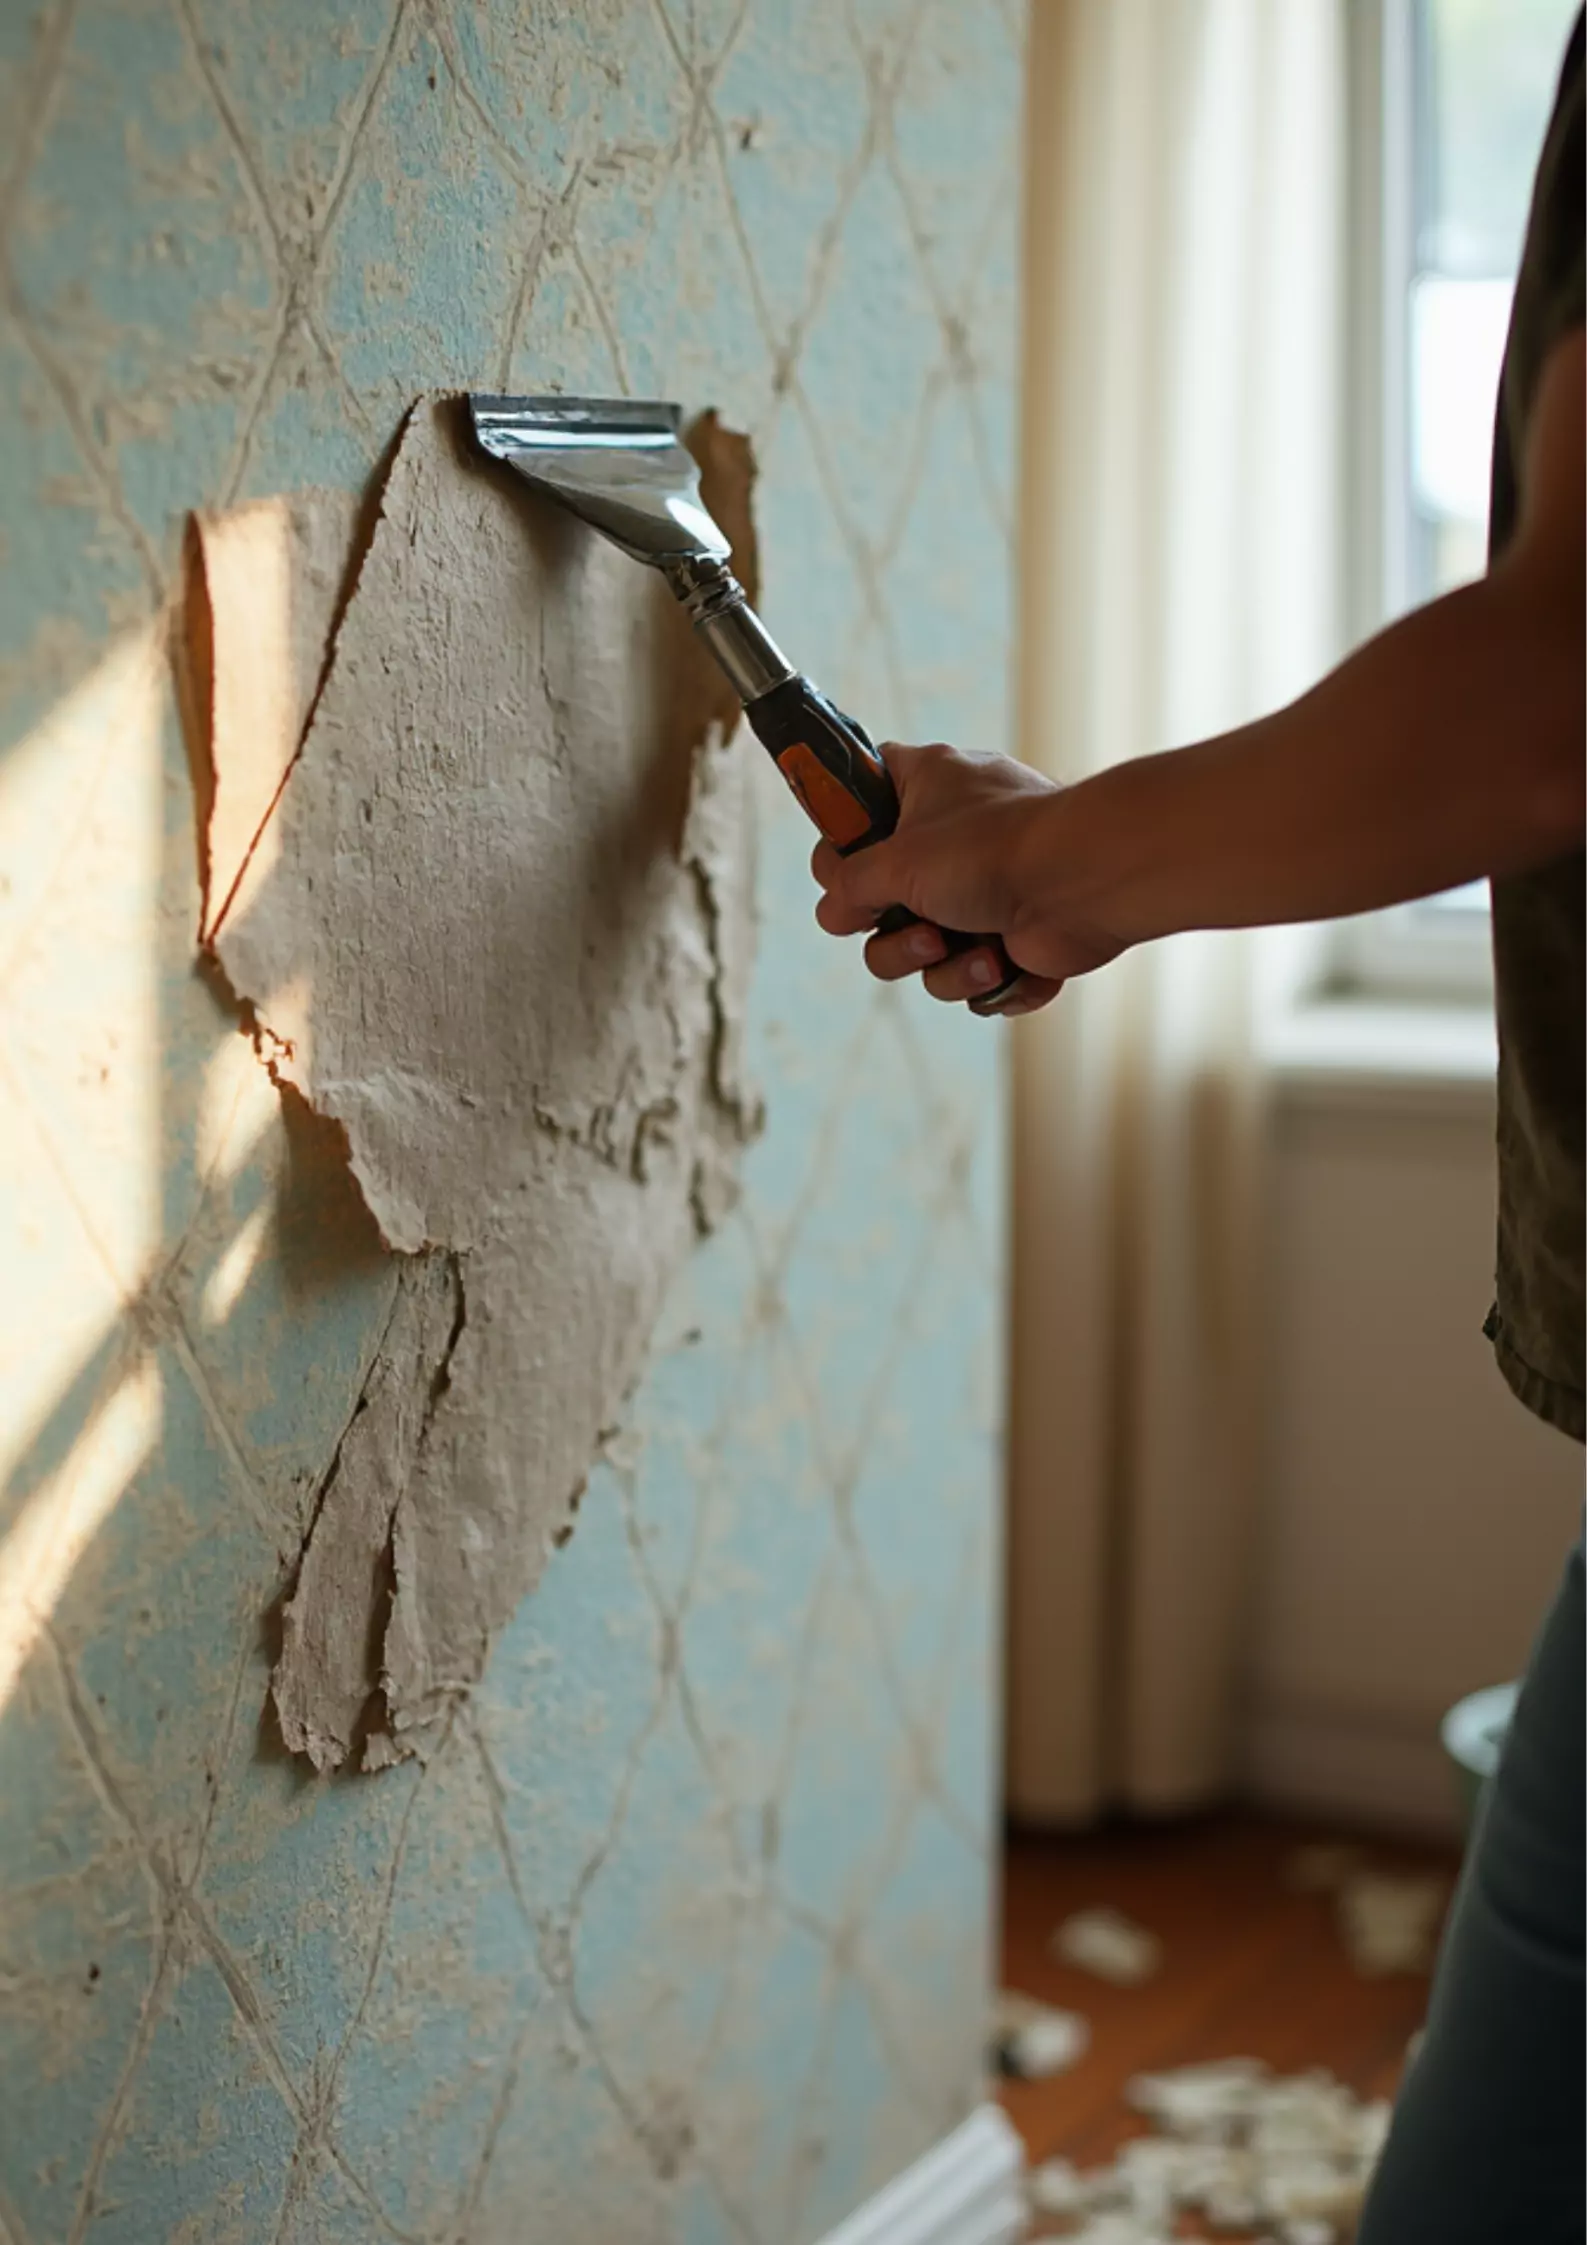
3 Proven Wallpaper Peeling Methods
Method 1: Hot Water and Dish Soap Technique
Best for: Most standard wallpaper Peeling
- Create a wallpaper removal solution with hot water and dish soap
- Generously spray the wallpaper
- Allow 10-15 minutes for solution to penetrate
- Gently lift corners with a putty knife
- Slowly peel, keeping the surface wet
Method 2: Vinegar Solution for Stubborn Wallpaper
Ideal for: Challenging wallpaper removal
- Mix equal parts white vinegar and hot water
- Saturate the wallpaper thoroughly
- Let the solution sit for 15 minutes
- Optional: Use a scoring tool to improve penetration
- Carefully scrape with a putty knife
Method 3: Commercial Wallpaper Detachment Solution
Recommended for: Difficult or aged wallpapers
- Purchase a specialized wallpaper Detachment solution
- Follow the manufacturer’s instructions precisely
- Consider using a steamer for extra-tough areas
Pro Wallpaper Removal Tips
Scoring Technique
- Use a wallpaper scoring tool to create tiny perforations
- Improves removal solution absorption
- Apply gentle pressure to prevent wall damage
Troubleshooting Wallpaper Uninstallation Challenges
- Handle multiple layers by removing the top layer first
- Reapply solution to stubborn spots
- Never use excessive force during removal
- Work systematically to ensure the complete removal
After Wallpaper Removal: Wall Restoration
Cleaning and Preparing Walls
- Remove all adhesive residue completely
- Wipe walls with a clean, damp sponge
- Allow walls to dry thoroughly
- Inspect for any potential damage
Repairing Wall Imperfections
- Fill small holes with spackle
- Sand repaired areas smooth
- Prime walls for painting or new decor
Wallpaper Stripping Safety Considerations
- Wear Protective Equipment: Use gloves to protect your hands from adhesive residue, safety goggles to shield your eyes from dust or debris, and a mask to prevent inhalation of harmful particles.
- Ensure Proper Room Ventilation: Keep windows open and fans running to reduce exposure to fumes from wallpaper adhesive or any chemical strippers used during the process.
- Take Regular Breaks: Avoid overexertion by resting periodically, especially if working in a large area or for extended periods. Stay hydrated to maintain energy levels.
- Work in Well-Lit Conditions: Adequate lighting ensures better visibility of the wallpaper edges and minimizes the risk of accidental damage to the walls or injuries.
- Use the Right Tools Safely: Handle sharp tools, such as scrapers or utility knives, carefully to avoid cuts or damage to the wall surface.
- Be Mindful of Electrical Outlets: Turn off electricity to the room and cover outlets to prevent water or chemical solutions from causing electrical hazards.
- Test for Hazardous Materials: Check for lead-based paint or asbestos behind older wallpapers before starting, and consult professionals if found.
When to Seek Professional Wallpaper Stripping
Consider professional help if you encounter the following:
- Extensive wall damage
- Multiple complex wallpaper layers
- Large or hard-to-reach areas
- Delicate or historic wall surfaces
Common Wallpaper Removal Mistakes to Avoid
- Pulling wallpaper too aggressively
- Insufficient surface moisture
- Using sharp tools carelessly
- Skipping through wall preparation
Your Wallpaper Uninstallation Confidence Starts Here
Wallpaper Uninstallation might seem daunting, but you can transform your space confidently and professionally with the proper techniques. Remember, removing every strip of wallpaper is a step toward creating your dream interior.
Pro Tip: Take your time, stay patient, and celebrate each small victory in your wallpaper removal journey!
Brought to you by Home Simple Fixes – Empowering Women, One Home Improvement at a Time 🏠✨